At-Home Dermaplaning Safety: Steps, Aftercare, Glow
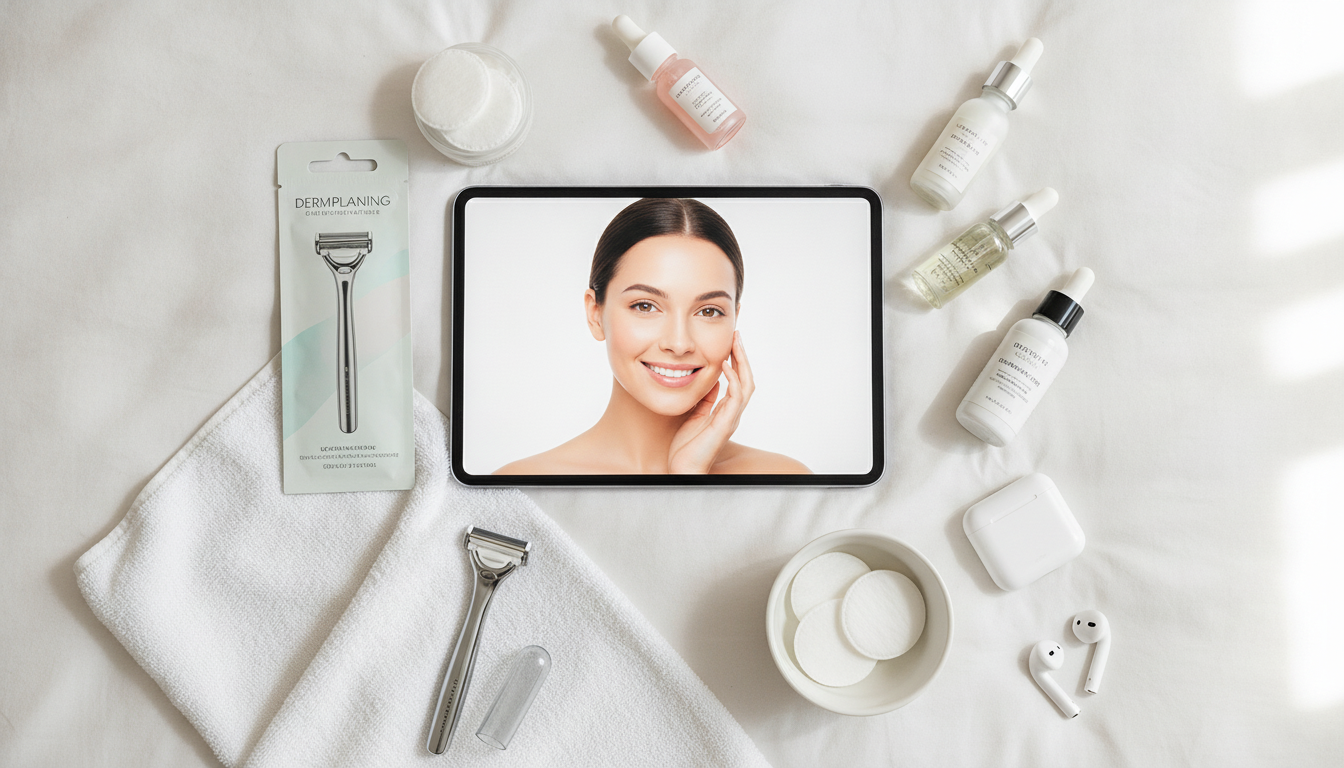
At-Home Dermaplaning: Safety Steps and Aftercare for a Smooth, Glowy Finish
Dermaplaning at home can leave skin looking brighter and feeling smoother when it’s done with the right tools, careful technique, and a calm, barrier-friendly aftercare routine. The goal is a controlled, gentle sweep that removes peach fuzz and surface buildup—without turning the session into an aggressive exfoliation moment. Below are practical guardrails for who should skip it, how to prep and dermaplane safely, and what to apply (and what to pause) afterward so skin stays comfortable and radiant.
What Dermaplaning Does (and What It Doesn’t)
Dermaplaning is essentially facial shaving with a specialized blade. Done properly, it can make skin look more even and feel extra smooth to the touch.
- Gently removes vellus hair (“peach fuzz”) and the outermost layer of dead skin to improve the look of dullness and rough texture.
- Helps makeup sit more evenly and can make skincare feel like it absorbs better (without changing how products work biologically).
- Does not change hair thickness or color; regrowth can feel blunt only because of the cut edge.
- Not a treatment for active acne; shaving over inflamed breakouts can worsen irritation and spread bacteria.
For a clinical overview of benefits and risks, the Cleveland Clinic provides a helpful explanation of what dermaplaning can (and can’t) do: https://my.clevelandclinic.org/health/treatments/22680-dermaplaning.
Who Should Skip At-Home Dermaplaning (or Get Professional Advice First)
Dermaplaning should feel easy and low-drama. If skin is already inflamed or vulnerable, it’s smarter to wait or consult a clinician.
- Active acne lesions, open sores, sunburn, or a current rash
- Moderate to severe rosacea, eczema flares, or highly reactive/sensitized skin
- Recent medium/deep chemical peel, ablative laser, microneedling, or a compromised skin barrier
- Use of oral isotretinoin in the past several months (follow clinician guidance)
- Tendency to develop keloids or poor wound healing—consult a dermatologist before trying
Tools and Setup for a Safer Session
A safer dermaplaning session is mostly about cleanliness, visibility, and a blade that’s designed for the face.
- Use a clean, single-use facial razor/dermaplaning tool designed for the face; avoid reusing a dull blade.
- Wash hands, cleanse face, and dry skin completely—dermaplaning is typically performed on dry skin for control.
- Disinfect the tool handle if reusable; store blades in a clean, dry place.
- Tie back hair, use bright lighting, and keep a mirror at a comfortable height to avoid awkward angles.
- Patch test any post-care products (especially acids or retinoids) on a separate day, not immediately after dermaplaning.
If you like a structured checklist (prep, angle cues, and stop points), the digital guide At-Home Dermaplaning: Safety, Steps, Aftercare | Digital Guide for Smooth Skin, Glow, Post-Care & Skincare Routine can help keep the routine consistent across sessions.
Step-by-Step Dermaplaning Technique (Controlled and Gentle)
Think “feather-light” and “short strokes,” not scraping. If you feel tugging, something is off—often the angle or a dull blade.
- Start with a freshly cleansed, fully dry face; avoid oils or heavy creams before shaving.
- Hold skin taut with the free hand; work in short, light strokes (about 1–2 cm).
- Keep the blade at a shallow angle (roughly 45 degrees) and never press down.
- Move with gentle downward strokes along cheeks, jawline, and forehead; use extra caution around nose and lips.
- Avoid eyelids, the immediate under-eye area, and any raised or irritated spots.
- Wipe away debris with clean, dry gauze or a soft tissue; do not repeatedly scrape the same area.
- Stop if skin becomes very red, stings, or shows pinpoint bleeding—rinsing and soothing care is the priority.
Aftercare: The First 24–48 Hours
After dermaplaning, skin is freshly exfoliated and often a bit more reactive. A “boring” routine is the best routine for a day or two.
Sun protection matters even more after exfoliation. The American Academy of Dermatology shares practical sun protection guidance here: https://www.aad.org/public/everyday-care/sun-protection.
What to Pause (and When to Resume)
Post-Dermaplaning Product Timing Guide
| Product type | When to use | Notes |
|---|---|---|
| Gentle cleanser | Same day (if needed) | Use lukewarm water; avoid foaming/stripping formulas |
| Barrier moisturizer (ceramides/glycerin) | Immediately after | Apply on slightly damp skin if comfortable |
| Occlusive ointment (optional) | Same day/night | Use a thin layer if skin feels dry or tight |
| Sunscreen SPF 30+ | Next morning and daily | Broad-spectrum; reapply during sun exposure |
| Retinoids, acids, benzoyl peroxide | After 48–72 hours | Wait longer if any sensitivity persists |
How Often to Dermaplane and How to Avoid Common Mistakes
A Simple Skincare Routine for the “Glow” (Without Overdoing It)
Morning
Evening (first 2 nights)
After skin normalizes, reintroduce one active at a time on alternating nights rather than stacking. If supporting the barrier is a focus, Skin Microbiome Balance: Prebiotics + Probiotics Routine – The Ultimate Guide for Radiant, Healthy Skin offers a routine-forward approach to keeping skin comfortable while you build consistency.
Digital Guide Option for Checklists and Step-by-Step Support
For a step-by-step format you can revisit each time, see At-Home Dermaplaning: Safety, Steps, Aftercare | Digital Guide for Smooth Skin, Glow, Post-Care & Skincare Routine.
FAQ
Does dermaplaning make hair grow back thicker or darker?
No—dermaplaning doesn’t change the hair follicle, so it won’t make hair grow back thicker or darker. Regrowth can feel slightly different because the hair is cut blunt at the surface, and timing varies by person.
What should not be applied right after dermaplaning?
Skip potential irritants like retinoids, exfoliating acids (AHA/BHA/PHA), benzoyl peroxide, strong vitamin C, and fragranced products for about 48–72 hours. Stick with a gentle moisturizer and wear sunscreen the next day.
How often is it safe to dermaplane at home?
Many people do well dermaplaning about every 3–4 weeks, which gives skin time to fully recover between sessions. If you notice lingering sensitivity or dryness, wait longer and keep aftercare simple.










Leave a comment