At-Home Dermaplaning: Does It Really Work?
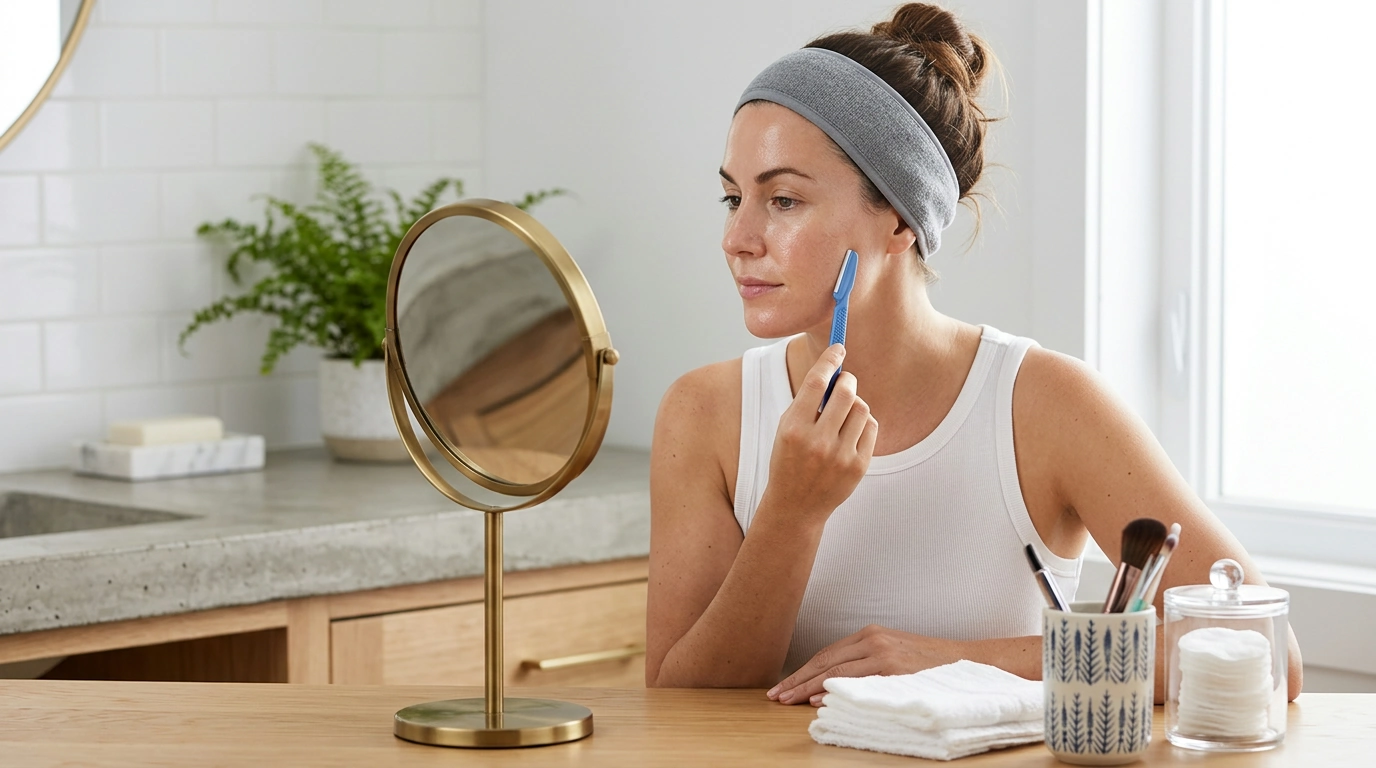
Does dermaplaning at home really work?
Yes—at-home dermaplaning can work when you use the right tool, the right technique, and the right aftercare. Done correctly, it removes surface peach fuzz and built-up dead skin so your face feels smoother and makeup and skincare apply more evenly. The “glow” you notice is typically that fresh, smoother surface reflecting light better—not a permanent change—so results are gradual and need upkeep.
What results you can realistically expect
Most people see an immediate softening of texture and a more even-looking finish, especially around the cheeks, jawline, and upper lip area. It won’t erase deep acne scars or change pore size, but it can reduce the look of dullness and help products spread more uniformly.
What makes at-home dermaplaning actually work (and what makes it backfire)
The biggest difference is using a sharp, single-use facial razor designed for dermaplaning—not a body razor—and working on clean, dry skin with short, controlled strokes. Hold skin taut and keep the blade at a shallow angle; pressing hard is what causes nicks, irritation, and patchy results. If you’re breaking out, have active irritation, or you’re using strong exfoliants too aggressively, you’re more likely to end up with redness or bumps instead of smoothness.
Our team’s simple approach: prep, glide, soothe
Start with freshly cleansed, fully dry skin and skip heavy oils that can make the blade slip. Dermaplane in small sections, moving downward in gentle strokes, wiping the blade often. Afterward, rinse with lukewarm water and focus on calming hydration: a soothing serum and a simple moisturizer. For the next 24–48 hours, pause harsh acids, retinoids, and scrubs, and be diligent with broad-spectrum sunscreen.
Want a safer step-by-step routine?
We laid out our full prep, safety tips, and aftercare routine here: at-home dermaplaning safety steps and aftercare guide.
FAQ
How often should you dermaplane at home?
For most skin types, every 3–4 weeks is a comfortable cadence that matches natural skin turnover and helps avoid over-exfoliation. If you’re new or sensitive, start less often and prioritize soothing hydration and daily sunscreen.










Leave a comment